TLDR: Check out the repo
As an AI/ML Engineer, Python is my bread and butter. Both the most battle-tested and most cutting-edge research packages for AI are a pip install away. I just feel so efficient and expressive in it, especially now with uv.
And my favorite framework for exposing Python apps for consumption is FastAPI, with its built-in type safety, async-first design, and integrations with authlib, SQLAlchemy, etc., making it so you can develop quickly and elegantly.
However, oftentimes exposing an API is not enough; A slick Web App can be the key to the hearts of many non-technical users, and to build a killer Web App, you can’t go wrong with React, Tailwind, and Shadcn. But hold on, things got complicated now. If you want to deploy your entire app, you need to deploy two separate programs, two separate containers! This won’t do. Avoiding this is why so many devs try to make JS on the backend work, but I don’t want to give up my beloved Python, so what can I do?
Enter Nginx Unit
You probably heard of, or even used, Nginx as a web server or reverse proxy, but Nginx Unit is different; Nginx Unit is an app runtime. This means it can run code for many programming languages, including Python, and it even has direct integration with FastAPI. And yet, it also stays true to its roots and remains a web server, handling static files, TLS termination, and request routing.
So here is the game plan: we can create a single Nginx Unit container, load it with both our React and FastAPI programs, and let it route to the appropriate one based on the request! This optimizes our app by making use of unit’s excellent static file serving capabilities for the frontend, and unit’s convenient ASGI compatibility for the backend, all in a single, tidy container.
Sounds too good to be true? Or maybe you fear that the setup will be too complicated? You’d be right if you had to figure it out from scratch, but I’ve already done the boring boilerplate part, and now we can get going with a simple clone.
The React + FastAPI Template
I’ve created a project template that will scaffold a react-fastapi dual language project for you. Get it now by cloning from Github:
git clone https://github.com/ajac-zero/react-fastapi-template.git
Prerequisites
To run this demo you actually only need docker installed. You don’t even need python or node! However, assuming you’ll want to develop on top of this template, then you’ll need uv and pnpm. You’ll also need just, which I recommend you install with uv tool install rust-just.
Walkthrough
Cloning the template will result in the following file tree:
└── react-fastapi-template/
    ├── api/ # Code for the Python app
    │   ├── __init__.py
    │   └── server.py
    ├── gui/ # Code for the React app
    │   ├── assets/...
    │   ├── components/...
    │   ├── lib/...
    │   ├── App.tsx
    │   ├── index.css
    │   └── main.tsx
    ├── Dockerfile # Multi-stage container definition
    ├── unit.json # Nginx Unit config file
    └── ... # Other files hidden for brevity
Let’s go over each piece.
- The first part is the
api/directory. It holds the code for the FastAPI app, which currently exposes some endpoints to manage a counter:
# api/server.py
from contextlib import asynccontextmanager

from fastapi import FastAPI, APIRouter, Request
from pydantic import BaseModel

# Create the global state for the app with a 'counter' variable
@asynccontextmanager
async def lifespan(app: FastAPI):
    app.state.counter = 0
    yield

app = FastAPI(
    lifespan=lifespan,
    docs_url="/api/docs",
    openapi_url="/api/openapi.json"
    )

router = APIRouter(prefix="/api")

# Returns the current counter value
@router.get("/counter")
async def get_counter(request: Request):
    return {"counter": request.app.state.counter}

class Input(BaseModel):
    amount: int

# Increments the counter value
@router.post("/counter")
async def add_to_counter(request: Request, input: Input):
    request.app.state.counter += input.amount

app.include_router(router)
- The second part is the
gui/directory. It holds the React app that interacts with the backend via fetch requests to ‘/api’. Since both the frontend and backend have the same origin, there won’t be any pesky CORS issues:
// gui/App.tsx
import { useEffect, useState } from "react";
import reactLogo from "./assets/react.svg";
import fastapiLogo from "./assets/fastapi.svg";
import { Button } from "@/components/ui/button";

function App() {
 const [counter, setCounter] = useState<number | null>(null);

 // Fetch the current counter value
 const fetchCounter = async () => {
   try {
     const response = await fetch("/api/counter");
     const data = await response.json();
     setCounter(data.counter);
   } catch (error) {
     console.error("Failed to fetch counter:", error);
   }
 };

 // Increment the counter
 const incrementCounter = async () => {
   try {
     await fetch("/api/counter", {
       method: "POST",
       headers: {
         "Content-Type": "application/json",
       },
       body: JSON.stringify({ amount: 1 }),
     });
     // Fetch the updated counter value
     await fetchCounter();
   } catch (error) {
     console.error("Failed to increment counter:", error);
   }
 };

 // Fetch counter on component mount
 useEffect(() => {
   fetchCounter();
 }, []);

 return ... // TSX component
}

export default App;
- The third part is the
unit.jsonfile, which defines the configuration for running the python application and serving the react static files.
{
  // Set unit to listen on port 80
  "listeners": {
    "*:80": {
      "pass": "routes"
    }
  },
  // Load our python app on the unit runtime
  "applications": {
    "fastapi": {
      "type": "python3",
      "path": "/app",
      "module": "api.server",
      "callable": "app"
    }
  },
  "routes": [
    {
      // If request starts with '/api', route to python app
      "match": {
        "uri": "/api/*"
      },
      "action": {
        "pass": "applications/fastapi"
      }
    },
    {
      // Otherwise, route to react app static files
      "action": {
        "share": "/app/gui$uri",
        // Make sure unit can share different file types (HTML, JavaScript, ...)
        "types": ["image/*", "font/*", "text/*", "application/*"]
      }
    }
  ]
}
- The final, and most important part is the
Dockerfile, which puts everything together by building the react app, installing all required packages for the python app, and configuring unit.
# First stage focuses on the React app
FROM node:23-alpine AS frontend-builder

WORKDIR /app

# Install pnpm
RUN corepack enable && corepack prepare pnpm@latest --activate

COPY package.json pnpm-lock.yaml ./

# Install React project dependencies
RUN pnpm install

COPY . .

# Build static files; These will be created at /app/dist
RUN pnpm build

# ===================================================================

# Second stage focuses on the Python app
FROM ghcr.io/astral-sh/uv:python3.13-bookworm-slim AS backend-builder

# Set uv settings to improve build & startup times
ENV UV_COMPILE_BYTECODE=1 UV_LINK_MODE=copy

WORKDIR /app

# Install python project dependencies; Excludes dev dependencies
# A virtual environment will be created at /app/.venv
RUN --mount=type=cache,target=/root/.cache/uv \
    --mount=type=bind,source=uv.lock,target=uv.lock \
    --mount=type=bind,source=pyproject.toml,target=pyproject.toml \
    uv sync --locked --no-dev

# ===================================================================

# Final stage uses a unit image with python pre-installed
FROM unit:python3.13-slim AS runtime

WORKDIR /app

# Copy over virtual environment from second stage
COPY --from=backend-builder --chown=app:app /app/.venv /venv

# Copy over static files from first stage
COPY --from=frontend-builder /app/dist ./gui

# Copy cover python app files
COPY api/ ./api

# Activate virtual environment
ENV PATH="/venv/bin:$PATH"

# Copy over unit config file
COPY unit.json /docker-entrypoint.d/config.json

# Done; The base unit image will run the appropriate command
Now that we understand all the parts, let’s assemble the engine by building the application container with:
just build
And, at long last, let’s start the engine with:
just start
Now go to localhost:8080, where you’ll be greeted by your React app!

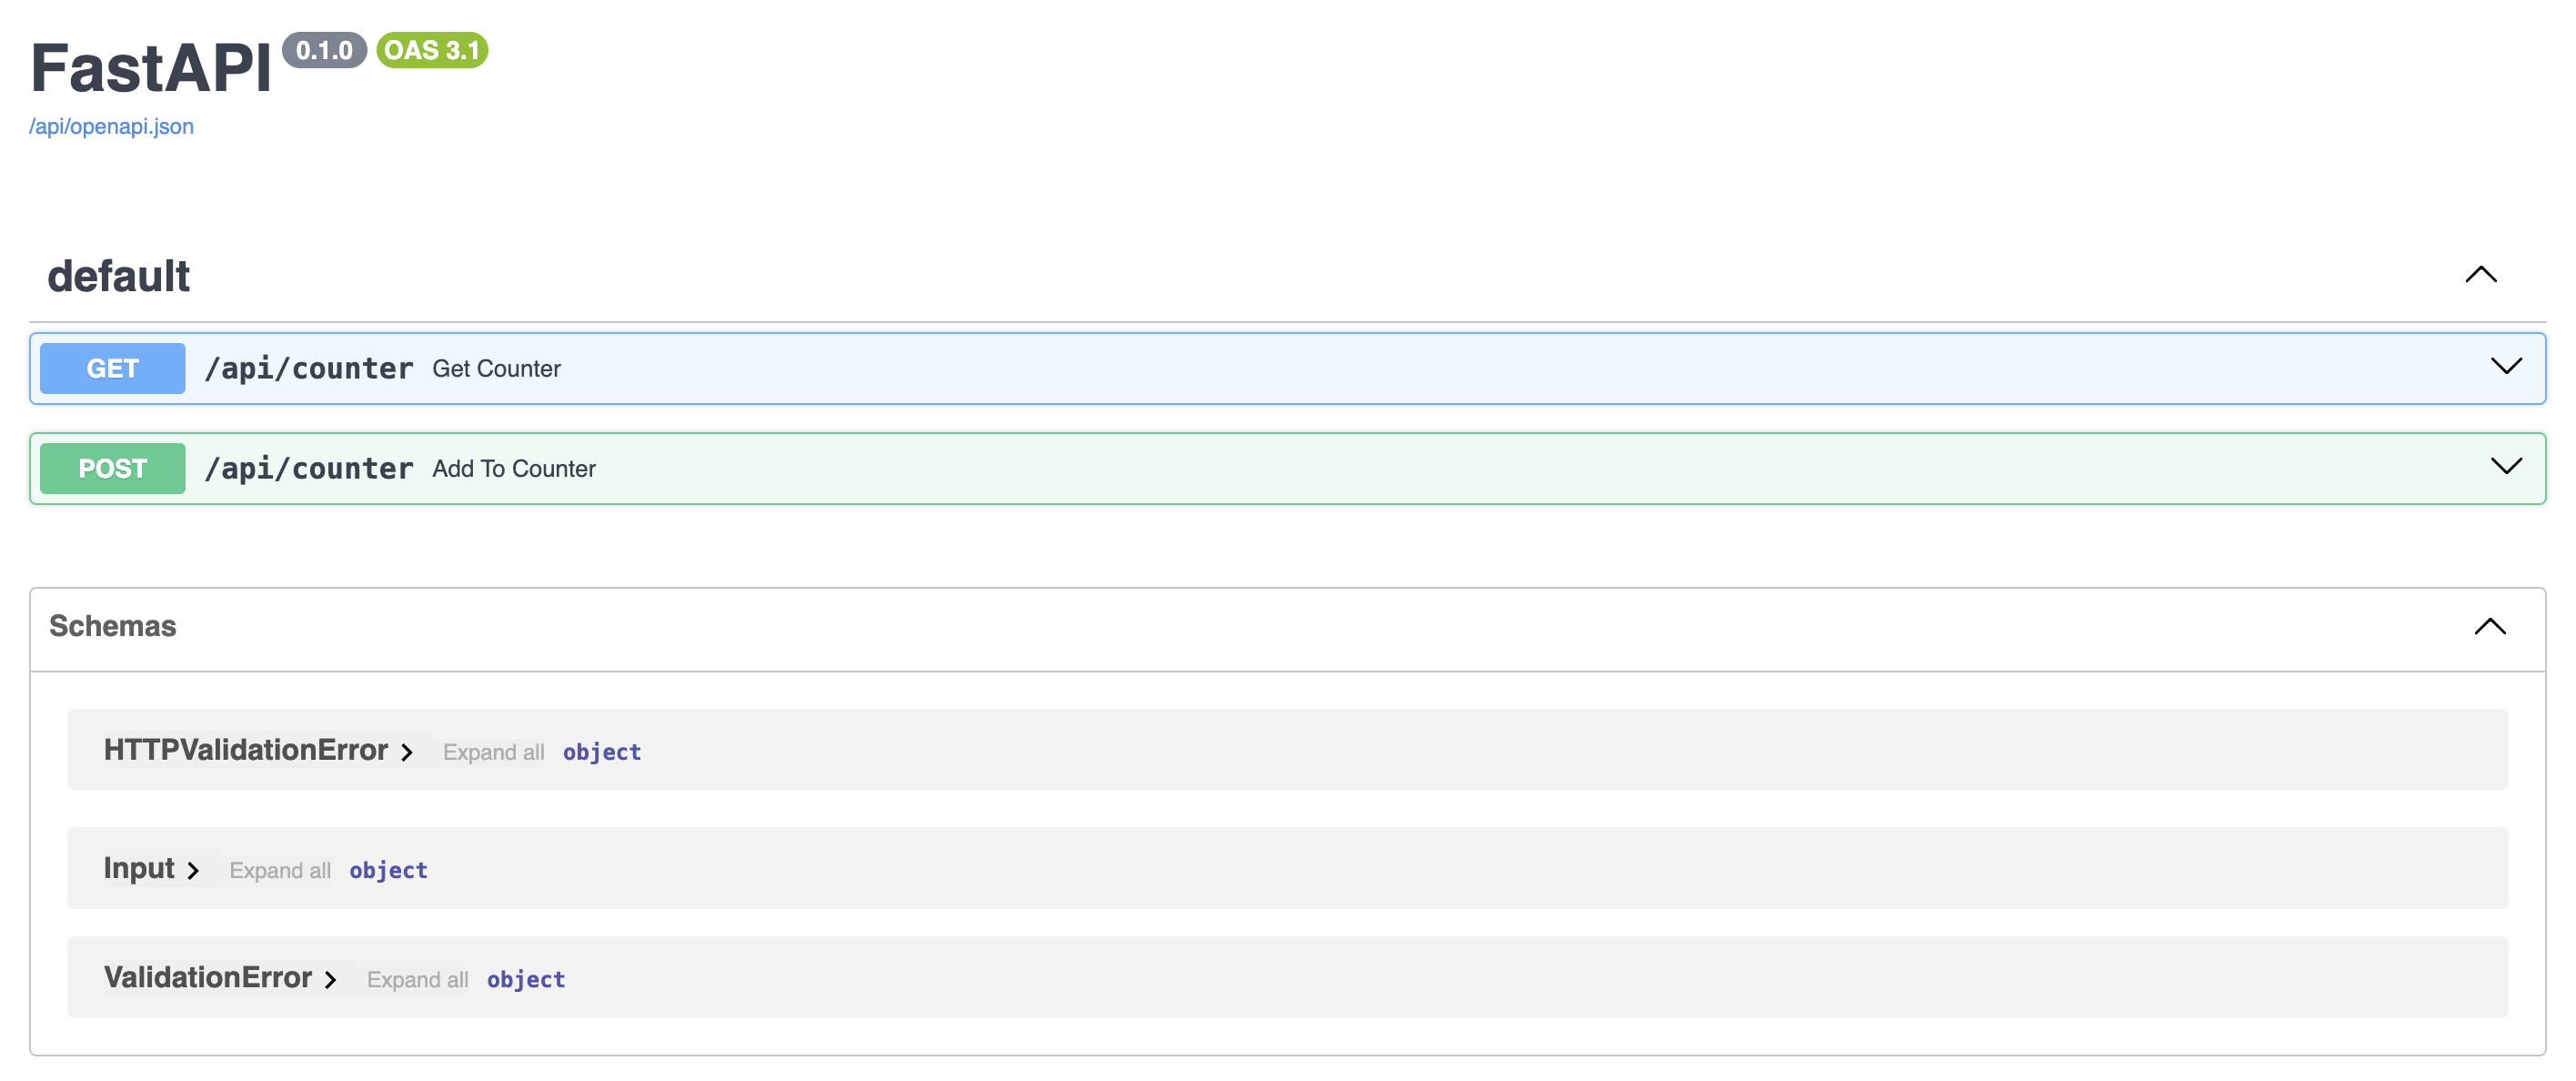
If you want to access your FastAPI app instead, go to localhost:8080/api/. This includes the integrated OpenAPI docs at localhost:8080/api/docs!
Hopefully, this guide and template will encourage you to try this setup. I find it to be both really practical and powerful, allowing you to use the best tool for each job, without drowning in complexity.
- Anibal
Bonus: A note on complexity and “best practices”
Undoubtedly, some devs will take issue with this setup. “The frontend and backend should have their own containers so they can scale independently!” they’ll say. Or maybe the “You have introduced a single point of failure to your system!” critique.
My counter-argument is that this setup is a simple trade-off between convenience and scalability.
Yes, using Kubernetes is more scalable. It’s also a lot more complex.
Yes, using a message queue is more fault-tolerant. It’s also a lot more complex.
If you’re a solo dev or in a small team, if you’re building an internal app, or something local or with a few thousand users. I promise you, this setup will work just fine. Don’t use a race car to go to the grocery shop.